

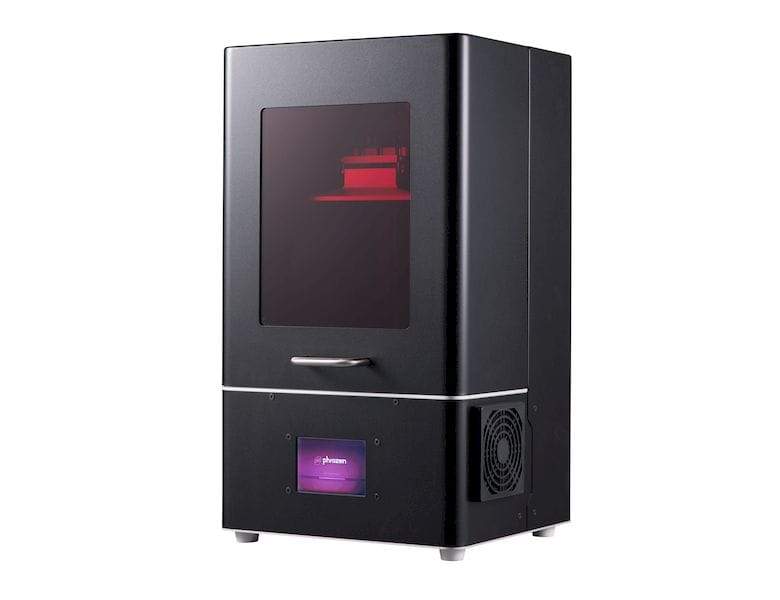

FIRST POWER UP
Turn power on to the Phrozen.
It takes about 1 minute to boot up.
After booting up, the IP address for the Phrozen is shown in the display.
Open a browser (Google Chrome is strongly recommended), and enter the IP address.
The 192.168.X.XXX is just an example format of the IP address.
The actual addresses in this example installation is 192.168.1.126.

After the Phrozen Shuffle is connected to the Network, NanoDLP is started by opening a browser (Google Chrome strongly recommended) and entering the IP address.
The first time, enter the entire IP address. Each time thereafter, just entering the first 1 or 2 numbers is enough, and
the browser will auto complete the remainder of the IP address.
NOTE – IP Address Changes – causes time out error: Sometimes the IP Address changes when the Phrozen Shuffle is turned on. When entering the first digit or two into the browser, returns a time-out error. This is not a printer fault. The IP address is assigned by the computer system.
SOLUTION: Simply enter the entire new IP Address in the Browser, and NanoDLP will start normally.
CONNECTING THE PHROZEN SHUFFLE TO THE NETWORK
Ethernet Connection to Local Area Network
This requires a network access point be close enough to the printer, so they can be connected with an Ethernet cable. That access-point can be a router or other Ethernet source.
Connect the Ethernet cable from the Phrozen Shuffle to the access point.

Testing Network Connection:
- Open a browser (Google Chrome strongly recommended).
- Enter the actual IP address, 192.168.1.126 in this example.
- Hit “Enter.”
- That opens NanoDLP, with its opening screen on the right.
- Details on NanoDLP operation follow below.

WARNING:
Do NOT print a part until Z-Axis Calibration is performed. See Below
Z-Axis Calibration
Before the printer can be used, Z axis calibration must be performed.
The build plate must be spaced the proper distance above the LCD (VAT, resin container) when a new print is started. This allows the resin to be cured properly, and stick to the Build Plate. If this first layer is not done correctly, the print will probably fail.
The Z-Axis Calibration assures that spacing is correct.
NOTE: Clean the VAT (resin container), leave it empty, and install on printer.
Procedure:
- Turn on Power
- Home Page – appears after about 1 minute
- Press Z-Axis
- Press the Icon on the middle right side
- Build Plate –Make sure there is nothing on Build Plate.
- Loosen 4 screws. Build plate should move easily by hand.
- Press Next
- Press Build Plate down, against LCD and VAT, gently, but firmly.
- Tighten 4 screws, in criss-cross fashion (e.g. right front, left rear, right rear, left front)
- Press OK
- That complete Z-axis Calibration. Repeat periodically.
